How to Get Visa Photos Delivered to Your Home
Getting a visa photo used to be a hassle, didn’t it? You’d have to go to a photo studio, wait in line, cross your fingers the lighting didn’t make you look like a zombie, and then pray the size met embassy requirements. But now? Welcome to the digital age—where you can get perfect visa photos delivered straight to your doorstep. No shoes, no commute, no problem. Let’s break it all down—from choosing the right online tool to making sure your printed photos meet every rule in the book. Whether you’re applying for a Schengen visa, U.S. visa, Indian eVisa, or anything else, this guide’s got your back.
Why Home Delivery of Visa Photos Is a Game-Changer
Let’s face it—getting visa photos the old-fashioned way was a chore. You had to take time out of your day, visit a photo studio (often during business hours), wait in line, and hope that the final result didn’t make you look like a deer in headlights. The lighting wasn’t always ideal, the background wasn’t always perfect, and if something was wrong—tough luck. You’d either have to settle for a subpar photo or pay for a retake. Not to mention, physical copies often had to be picked up days later, and digital copies weren’t even guaranteed.
Now imagine doing all of that without leaving your couch. That’s exactly what online visa photo services offer. With just your smartphone, a blank wall, and a few minutes of your time, you can take a visa-compliant photo from the comfort of your home. These services use advanced AI technology to format, crop, and verify your image according to the visa requirements of nearly any country. Whether it’s for a U.S. B1/B2 visa or a Schengen tourist visa, the tools adjust everything automatically, ensuring your photo gets accepted.
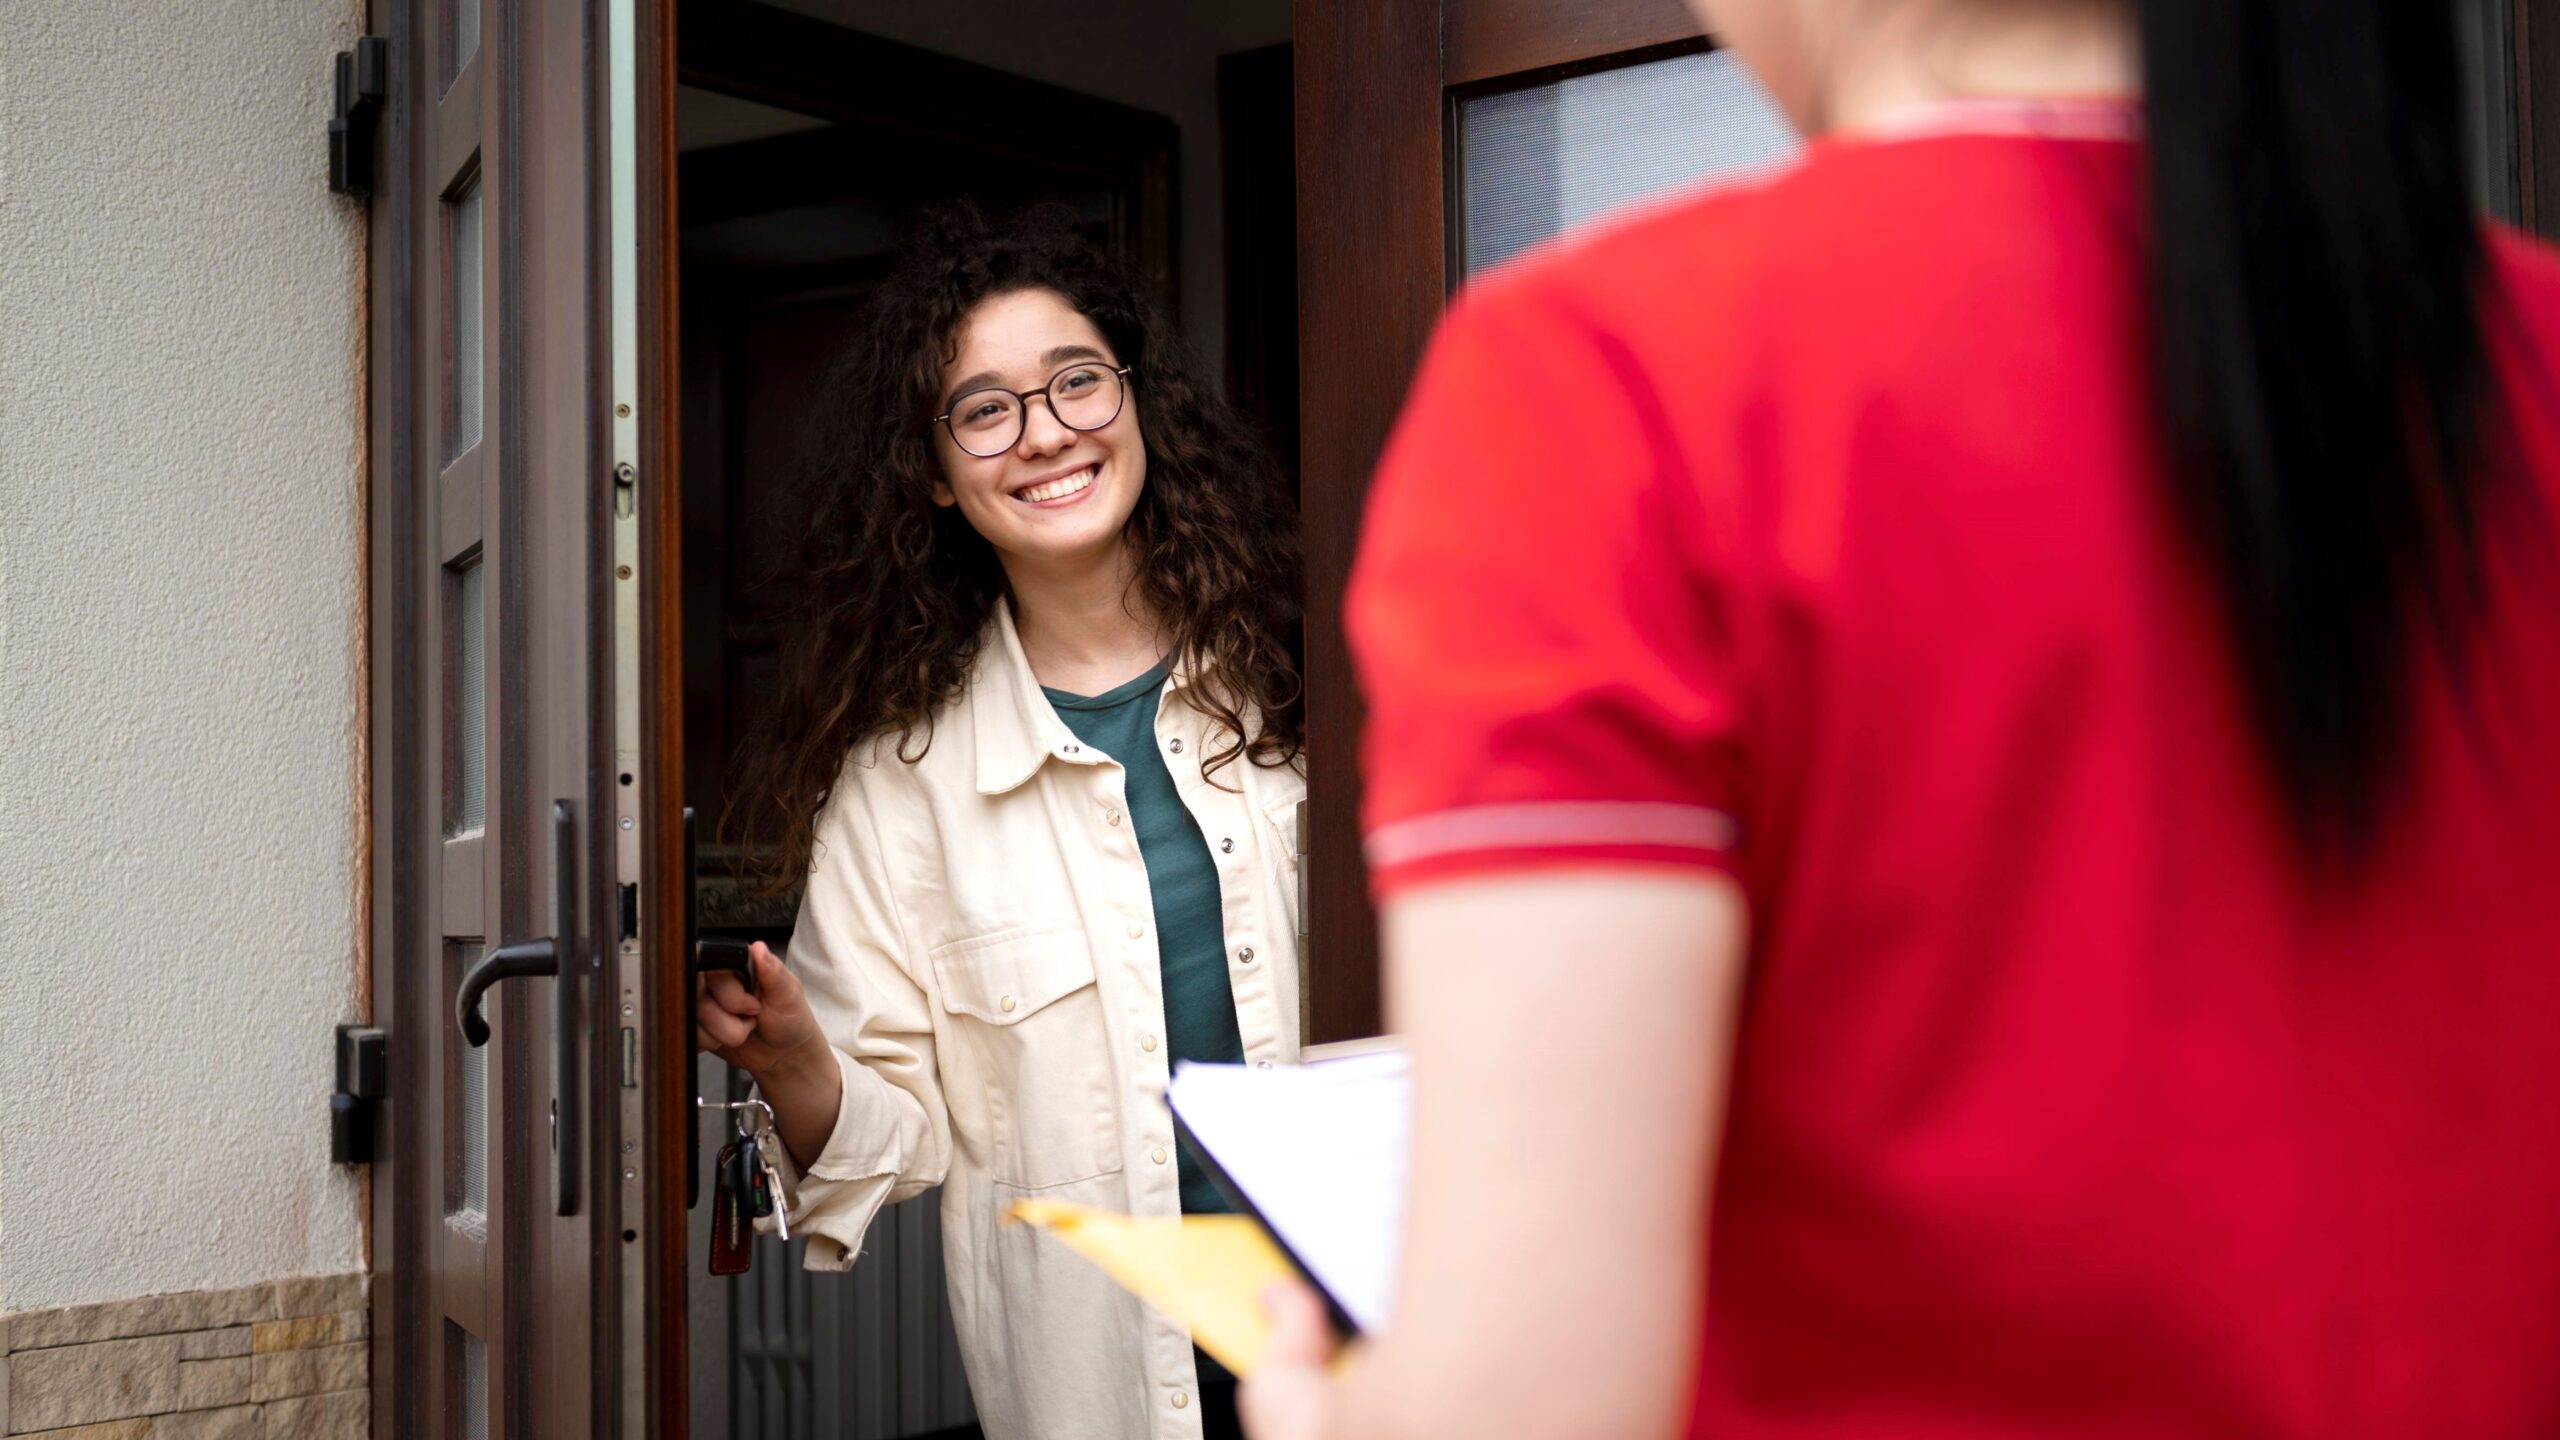
The biggest benefit? Delivery to your doorstep. No more driving across town just to pick up a few pieces of glossy paper. Once your photo is reviewed and approved by the system (or in some cases, a human expert), you simply select your preferred shipping method—standard or express—and wait for your prints to arrive. Most platforms even include tracking, so you’re never left wondering where your photos are. It’s a service tailored for convenience, especially valuable during tight visa deadlines or when juggling travel plans.
And let’s not forget the digital copy. Almost all modern visa photo tools include a downloadable, high-resolution file that you can instantly upload to online application portals. This digital version isn’t just convenient—it’s also reusable. Need the same photo for another visa in a few months? Just redownload it. Want to email it to a travel agent or print extra copies at home? Done. With home delivery and digital options combined, you’re no longer tied to the limited, inflexible methods of the past. You’re in control—and that’s a total game-changer.
What You’ll Need Before Getting Started
| Item | Purpose | Common Mistakes | Recommended Setup | Pro Tips |
| Smartphone or Camera | Captures a clear, high-resolution image of your face | Using low-resolution front cameras or webcams | 8MP+ smartphone camera or DSLR on tripod | Use rear camera and set timer for hands-free shots |
| Plain Background Wall | Ensures compliance with background requirements (usually white or light gray) | Patterns, colored walls, or shadows behind the head | Smooth, white or off-white vertical wall | Hang a white sheet if wall isn’t suitable |
| Good Lighting | Eliminates shadows and highlights facial features evenly | Harsh light, underexposed rooms, or strong backlight | Soft natural light from windows, no overhead shadows | Use lamps on both sides if daylight isn’t available |
| Visa Photo Specs | Ensures the photo meets size, head ratio, and format rules | Using passport-size instead of visa-specific sizes | Check embassy or consulate website for specific dimensions | Print or bookmark photo guidelines before starting |
| Reliable Online Service | Processes the photo to official standards and handles printing + delivery | Using unverified or non-compliant photo apps | Use platforms like Passport Photo Online, Visafoto, or iVisa Photos | Look for services with compliance checks and refund guarantees |
Step-by-Step: How to Get Your Visa Photo Delivered
Getting your visa photo delivered right to your doorstep might sound complicated, but it’s actually a super simple process when broken down into clear steps. Follow this detailed list to go from clicking your selfie at home to receiving a professionally printed, embassy-approved photo—all without stepping outside.
- Start by researching trustworthy online visa photo services. Look for platforms that clearly state they comply with international photo guidelines such as those for the US, UK, EU, Canada, or India. You want a service that doesn’t just edit your photo, but one that also guarantees it meets official requirements.
- Choose a platform with an automated compliance checker. This built-in tool automatically scans your uploaded image to make sure it’s the right size, has the correct head position, and a clean, shadow-free background. It takes the guesswork out of the equation and saves you from unnecessary rejections.
- Make sure the service offers printed photo delivery to your home. Most leading platforms give you options for both digital downloads and physical prints. Always confirm shipping times and countries supported, especially if you’re on a deadline or living in a remote area.
- Read through customer reviews before committing. Reliable platforms like Visafoto, iVisa Photos, Passport Photo Online, and PhotoAiD have thousands of user ratings. Look out for mentions of delivery delays, poor print quality, or rejected photos—these are red flags.
- Once you’ve picked your service, it’s time to take your photo. Use your smartphone’s rear camera for better resolution. Stand about one meter in front of a blank white or light gray wall. Ensure the lighting is even on both sides of your face—natural daylight near a window works best.
- Maintain a neutral expression with your mouth closed and eyes open. Don’t smile or tilt your head. Keep your shoulders relaxed and your head straight. The goal is to appear professional, like you’re ready to hand over an important document—not posing for a profile pic.
- Avoid shadows, which are a common reason for rejection. You can do this by standing slightly away from the wall so the light falls evenly on your face without casting dark areas behind your head or under your chin.
- Dress in casual, everyday clothes that contrast with the background. Avoid white tops that blend into the background or clothing with logos. Uniforms, flashy outfits, and heavy makeup are generally discouraged for official photos.
- Make sure you’re not wearing glasses, hats, headphones, or any headgear unless it’s worn daily for religious reasons. These rules are strict and failing to follow them is one of the main reasons embassies reject visa photos.
Which Visa Types Commonly Require Printed Photos?
When it comes to applying for visas, not all application processes are created equal—especially when it comes to photo requirements. Some countries have moved entirely into the digital era, accepting online uploads of biometric photographs, while others still rely heavily on physical, printed copies attached to paper forms. Knowing which type of photo format you need in advance can save you from the headache of delays, resubmissions, or worse—outright rejection.
Take the U.S. B1/B2 visa for instance. This popular tourist and business visa requires applicants to submit both a digital photo during the online DS-160 form process and printed versions at the embassy appointment. There’s no getting around it—you’ll need high-quality printed photos, which makes ordering them for home delivery not just convenient, but necessary. Similarly, Schengen visa applications for travel across much of Europe demand only physical printed photos, with strict guidelines around size, lighting, and background color. Submitting digital photos won’t cut it here.
On the other hand, some modern visa systems like India’s eVisa program allow applicants to upload a digital image directly into the online application. In these cases, a printed copy isn’t needed at all—unless you just want one for backup. Canada, however, still sticks to traditional methods for most of its paper-based visas, requiring printed photos that are submitted alongside application documents through mail or in-person drop-offs. So if you’re applying for a study permit, work visa, or visitor visa the old-fashioned way, hard copies are non-negotiable.
Then there are countries like the UK that fall somewhere in between. For some visa types, such as standard visitor or short-term study visas, digital uploads during online application may be accepted. But for other categories or depending on where you’re applying from, printed photos might still be required during biometric appointments or at visa centers. The key takeaway? If your visa process involves mailing documents or attending an in-person appointment, there’s a strong chance printed visa photos are a must—and home delivery services can save you a lot of time and stress in getting it right.
What to Look Out for in Delivered Visa Photos
| Quality Element | What to Check | Why It Matters | Common Problems | Fix if Needed |
| Photo Finish | Make sure the print has a matte or glossy finish as per the visa guidelines | Some embassies only accept matte; others prefer glossy | Wrong finish, glare issues | Reorder from service with correct finish setting |
| Dimensions | Check exact size (e.g., 2×2 inches for US, 35×45 mm for Schengen) | Incorrect sizing leads to instant rejection | Off by a few millimeters, wrong crop | Use a ruler to measure; contact service for a corrected reprint |
| Print Resolution | Look for clear image, no blurring, pixelation, or ink streaks | Poor print quality may indicate editing or unprofessional printing | Grainy look, faded colors, printer marks | Request replacement; choose high-res printing services in future |
| Head Size & Positioning | Ensure the head is centered with correct distance from chin to crown | Embassies require specific head-to-photo ratios | Head too small, too big, or shifted left/right | Use tools with compliance verification before printing |
| Facial Clarity & Lighting | Make sure face is evenly lit, background clean, and no visible shadows | Facial features must be clearly visible and background uniform | Shadow behind head, uneven lighting, poor exposure | Retake the photo using better lighting or get adjustments from service |
Can You Print Them at Home?
Sure, you can, but it’s risky. Most embassies strictly reject low-quality or improperly sized photos. That said, if you’re confident and have the right tools, home printing is possible—but you need to follow a very specific set of steps to avoid rejection. Here’s a detailed checklist to guide you through the home-printing process the right way:
- Choose only high-quality photo paper, either matte or glossy, depending on your visa’s requirements. Regular printer paper will not be accepted.
- Ensure your image resolution is set to 300 DPI (dots per inch) or higher. This guarantees sharpness and clarity.
- Avoid pixelation or visible blurring, especially around the edges of your face and hairline.
- Use a reliable inkjet or laser printer with enough ink/toner to avoid streaks, faded colors, or uneven tones.
- Turn off any printer enhancements like “auto-fix” or “beautify” settings that may alter your natural appearance.
- Make sure your printer settings don’t auto-scale or crop the image—dimensions must remain exact.
- Choose the correct photo size based on your visa type (e.g., 2×2 inches for U.S. visas, 35x45mm for Schengen, etc.).
- Double-check your head position in the photo—it should be centered with your eyes within the required height range.
- Ensure that the background is uniform, preferably white or light gray, without shadows, patterns, or texture.
- Use natural lighting or soft white lighting—no flash, red-eye, or dark shadows on your face.
- Before printing, preview the layout to ensure it includes crop marks or guides if you’re printing multiple images on one sheet.
- After printing, use a photo cutter or precision scissors to trim to exact size. Avoid tearing or uneven edges.
- Store your printed photos in a protective envelope to prevent creasing, smudging, or moisture damage.
What Happens if Your Photo Gets Rejected?
Having your passport or visa photo rejected can be frustrating and time-consuming, especially if you’re working with a tight deadline. The most common reasons for rejection include incorrect dimensions, poor lighting, improper facial expression, or a non-compliant background. Even something as minor as a shadow on your face or slightly tilted head can cause authorities to deem the photo unusable. That’s why many embassies and consulates are extremely strict about photo standards—they use them for biometric identification, and any deviation could compromise the accuracy of their systems.
Thankfully, most modern online photo tools and professional services are designed to minimize the chance of rejection by automatically adjusting your image to meet official specifications. These tools typically crop, align, and verify the background using AI technology to ensure your submission adheres to the rules of the issuing authority. But no system is foolproof, and if your photo still ends up being rejected, it doesn’t necessarily mean starting over from scratch. Many services anticipate this possibility and offer user-friendly policies to make your experience less stressful.
In case of rejection, several online platforms provide free retakes or even a full refund. That means you can simply resubmit a new image without paying again. If the service provided a digital copy of your photo, you can usually make quick edits or capture a new image and reupload it using the same specifications. This makes the process of correcting mistakes fast and convenient—especially if you’re already familiar with the issues that caused the rejection the first time around.
Moreover, many services keep your digital photo securely stored in your account or on their cloud-based system. This allows for easy access if you need to reorder prints, resubmit the image, or use it for a different document type. Having a saved version of your compliant photo on hand can be a lifesaver, particularly when dealing with multiple applications or future renewals. While a rejection might feel like a setback, it’s often just a minor bump in the road if you’re using a reliable photo service that supports reprocessing and quick turnaround.