How to Take a Perfect Resume Headshot Outdoors
When it comes to making a strong first impression, your resume headshot plays a surprisingly powerful role. Whether you’re applying for jobs online, networking on LinkedIn, or sending out professional bios, a polished headshot is key. But taking a professional-looking photo doesn’t mean you have to book a pricey studio session. Outdoor resume headshots can look fresh, natural, and vibrant — if you know the tricks. Ready to step outside and snap that perfect shot? Let’s dive into how to take a perfect resume headshot outdoors, step by step.
Why Choose an Outdoor Resume Headshot?
Choosing to take your resume headshot outdoors is one of the smartest and most underrated moves you can make when trying to present yourself professionally. Natural environments offer a distinct visual advantage, especially when compared to indoor or studio setups. Natural lighting, especially during golden hours (just after sunrise or before sunset), wraps around the subject gently, giving the skin a soft, flattering glow. Unlike artificial lighting, which can be harsh or cause unflattering shadows, natural light adds warmth and dimension. This subtle enhancement often makes outdoor headshots appear more professional and engaging, even if they’re taken on a smartphone.
Outdoor settings also bring a level of authenticity and personality that studios often lack. Instead of a cold, white background or rigid lighting setup, you get texture — think leafy greens, urban stone walls, or soft skies — which add layers to the photo without stealing focus from your face. The relaxed and open-air feel of an outdoor shot also tends to put people at ease, allowing for more natural expressions. A genuine smile or comfortable pose can go a long way in making you seem approachable and confident — traits every recruiter wants to see in a candidate.
Another big reason people choose outdoor resume headshots is the cost-efficiency. Professional photography studios can charge a pretty penny for a single session, and not everyone can afford that. On the other hand, stepping outside with your smartphone and a friend can cost nothing. With a little planning, you can create an image that rivals those taken by high-end professionals. All it takes is attention to light, location, and a bit of posing practice. Whether it’s a tree-lined path, a clean brick wall, or your own backyard, you have instant access to dozens of potential photoshoot locations at no cost.
Finally, an outdoor headshot speaks volumes about creativity and initiative. It shows you’re resourceful and willing to think outside the box — literally. This can send a strong signal to employers or collaborators that you value professionalism but aren’t limited by convention. A well-composed outdoor headshot can stand out in a sea of bland studio portraits and make your profile more memorable. When done right, it strikes the perfect balance between professional and personal, helping you build trust before you even say a word.
Pick the Right Time of Day
- The “golden hour” is the ideal time for outdoor photography, occurring shortly after sunrise and just before sunset. During this period, the sunlight is soft, warm, and diffused, which creates flattering, natural-looking skin tones and eliminates harsh shadows. Photos taken during the golden hour tend to look dreamy, professional, and inviting.
- Shooting in the middle of the day, when the sun is directly overhead, can produce strong, harsh light that causes unwanted shadows on your face. This can result in dark circles under your eyes (often called “raccoon eyes”) or bright spots on your forehead and nose, making you look unevenly lit and less polished.
- If you only have time to shoot during midday, avoid standing directly in the sunlight. Instead, find shaded areas such as under trees, awnings, or beside buildings where the light is softer and more even. This helps to reduce harsh shadows and glare, creating a more balanced photo.
- Overcast days are also great for outdoor headshots because the clouds act like a natural diffuser, spreading the sunlight evenly and preventing harsh contrasts or squinting. The result is soft, even lighting that works beautifully for portraits.
- When planning your shoot, consider the direction and intensity of the sunlight. Early morning and late afternoon light not only softens your features but also adds warm tones to your skin, enhancing the overall mood of the photo.
- Avoid backlighting unless you have additional equipment like a reflector or fill flash. Direct sunlight behind you will cause your face to appear dark and underexposed unless you compensate with extra lighting.
- Check the weather forecast before scheduling your shoot. Clear skies during golden hours are best, but light cloud cover can also be beneficial by diffusing the sunlight without making the image too dull or gray.
- Remember that lighting can change quickly during sunrise and sunset, so plan your shoot to make the most of the limited time you have during these optimal lighting conditions. Be ready to shoot as soon as the light is right to capture the best possible headshots.
Choose a Clean, Professional Background
| Background Type | Pros | Cons | Ideal Use Case | Tips for Best Results |
| Greenery / Park | Natural and calming; provides a soft, pleasant contrast | Can become visually busy or cluttered if foliage is dense | Perfect for conveying approachability and warmth | Use wide aperture to blur background; avoid overly dense foliage |
| Urban Wall | Modern look with clean lines and interesting texture | Risk of graffiti, clutter, or distracting elements | Great for a sleek, contemporary professional image | Choose plain or neutral walls; scout for clean surfaces |
| Plain Wall | Minimalist background that keeps full focus on you | May appear boring or lack character | Suitable for highly formal or corporate headshots | Pick neutral or complementary colors to outfit and skin tone |
| Architectural | Adds personality and tells a subtle story through design | Details can distract if too ornate or busy | Ideal for creative fields or when you want a unique look | Frame carefully to avoid excessive distractions; focus on simplicity |
| Water Features | Soft reflections and calming effect create a unique vibe | Movement or reflections can sometimes be distracting | Works well for outdoor lifestyle or wellness professions | Use during calm weather; position to avoid glare on face |
Dress for Success Outdoors
When preparing for an outdoor resume headshot, your outfit choice plays a crucial role in how professional and polished you appear. Even though you’re outside and possibly in a more casual environment, it’s important to dress as if you’re heading to a serious interview. This mindset helps you project confidence and competence, which are exactly the qualities you want to communicate through your photo. Opt for solid colors instead of busy patterns or logos that can distract the viewer’s attention from your face. Clean, simple clothing ensures that the focus remains on your expression and personality.
The outdoor setting also influences what you should wear. If you’re shooting in a natural park or garden, pairing a well-fitted blazer with a crisp shirt can create a balance between formal and approachable. This combination works particularly well because it contrasts nicely with the softer, more organic backdrop, allowing you to stand out clearly. In contrast, if your headshot location is urban—like a city street or modern architectural site—a business casual outfit tends to fit the vibe perfectly. Think neat button-down shirts, sweaters, or tailored jackets that maintain professionalism without appearing too stiff.
Besides style, comfort is equally important when dressing for an outdoor shoot. You might be standing, moving, or adjusting your pose in different spots, so wearing something comfortable will help you stay relaxed and natural in front of the camera. Make sure to check the weather forecast before your session and dress accordingly. On cooler days, layering your outfit so you can remove or add pieces easily is smart. On warmer days, lightweight fabrics that breathe well will keep you cool and prevent you from looking flushed or sweaty in the photos.
Lastly, accessories and grooming should complement your outfit without overpowering it. Minimal jewelry, natural makeup, and neat hairstyles work best for professional headshots. The goal is to look polished but not overdone. When all these elements come together—the right clothing, comfort, and subtle grooming—they help you exude confidence and professionalism that will shine through your outdoor resume headshot.
Use the Right Camera and Settings
- Modern smartphones come equipped with powerful cameras that are more than capable of taking professional-quality headshots. Using portrait mode on your phone creates a pleasing depth of field effect, softly blurring the background while keeping your face in sharp focus. This helps your headshot look polished and visually appealing without needing complicated equipment.
- If you have access to a DSLR or mirrorless camera, you can fine-tune your settings to achieve even better results. Start by selecting a wide aperture, typically between f/1.8 and f/2.8. This setting allows for a shallow depth of field, which effectively separates you from the background by creating that attractive, creamy blur known as bokeh.
- Choosing the right focal length is also important. Lenses in the 50mm to 85mm range are ideal for headshots because they provide a natural perspective without distortion. This focal length compresses facial features slightly, which tends to be more flattering than wider lenses that can exaggerate proportions.
- Keeping your ISO setting low, ideally between 100 and 200, minimizes digital noise and grain in your photos. This ensures a clean, crisp image with smooth color transitions, especially important in headshots where clarity and detail are critical.
- Shooting in RAW format rather than JPEG gives you greater flexibility during post-processing. RAW files retain more image data, allowing you to adjust exposure, white balance, and color tones without degrading quality. This can make the difference between a good photo and a stunning one after editing.
- For those using smartphones, ensure the lens is clean and free from smudges before shooting. Small details like this can significantly affect image sharpness and clarity.
- Consider using a tripod or stabilizer if you’re shooting solo. This helps avoid camera shake and keeps the framing consistent across multiple shots.
- Experiment with different angles and distances, but avoid getting too close, as this can cause distortion, especially with phone cameras.
- If possible, use natural light combined with your camera settings to enhance the photo quality. Even the best camera struggles with poor lighting, so combining the right gear with ideal lighting is key for a perfect outdoor headshot.
Position Yourself to the Light
| Lighting Technique | Description | Benefits | Potential Challenges | Tips for Best Results |
| Face the Light | Position yourself so the sun or primary light source is shining directly on your face | Ensures even lighting, reduces harsh shadows | Bright sunlight can cause squinting or glare | Use soft morning or evening light; seek open shade if sunlight is too harsh |
| Use Open Shade | Stand in shaded areas like under trees or near buildings to avoid direct sunlight | Provides soft, diffused light with minimal shadows | May cause cooler color tones or dull background | Choose spots with bright surroundings to keep photo lively |
| Avoid Backlighting Without Fill | Avoid having the sun directly behind you without additional lighting | Prevents your face from appearing dark or silhouetted | Backlit shots can make your face underexposed | Use reflectors or fill flash to brighten your face when backlit |
| Backlighting with Reflector | Use a reflector to bounce light back onto your face when sun is behind you | Creates a dramatic yet well-lit portrait | Requires extra equipment and setup | White or silver reflectors work best; position reflector carefully |
| Backlighting with Fill Flash | Use a fill flash to illuminate your face when the light source is behind you | Balances exposure between background and subject | Flash can cause unnatural highlights if overused | Adjust flash intensity; blend flash with natural light for a natural look |
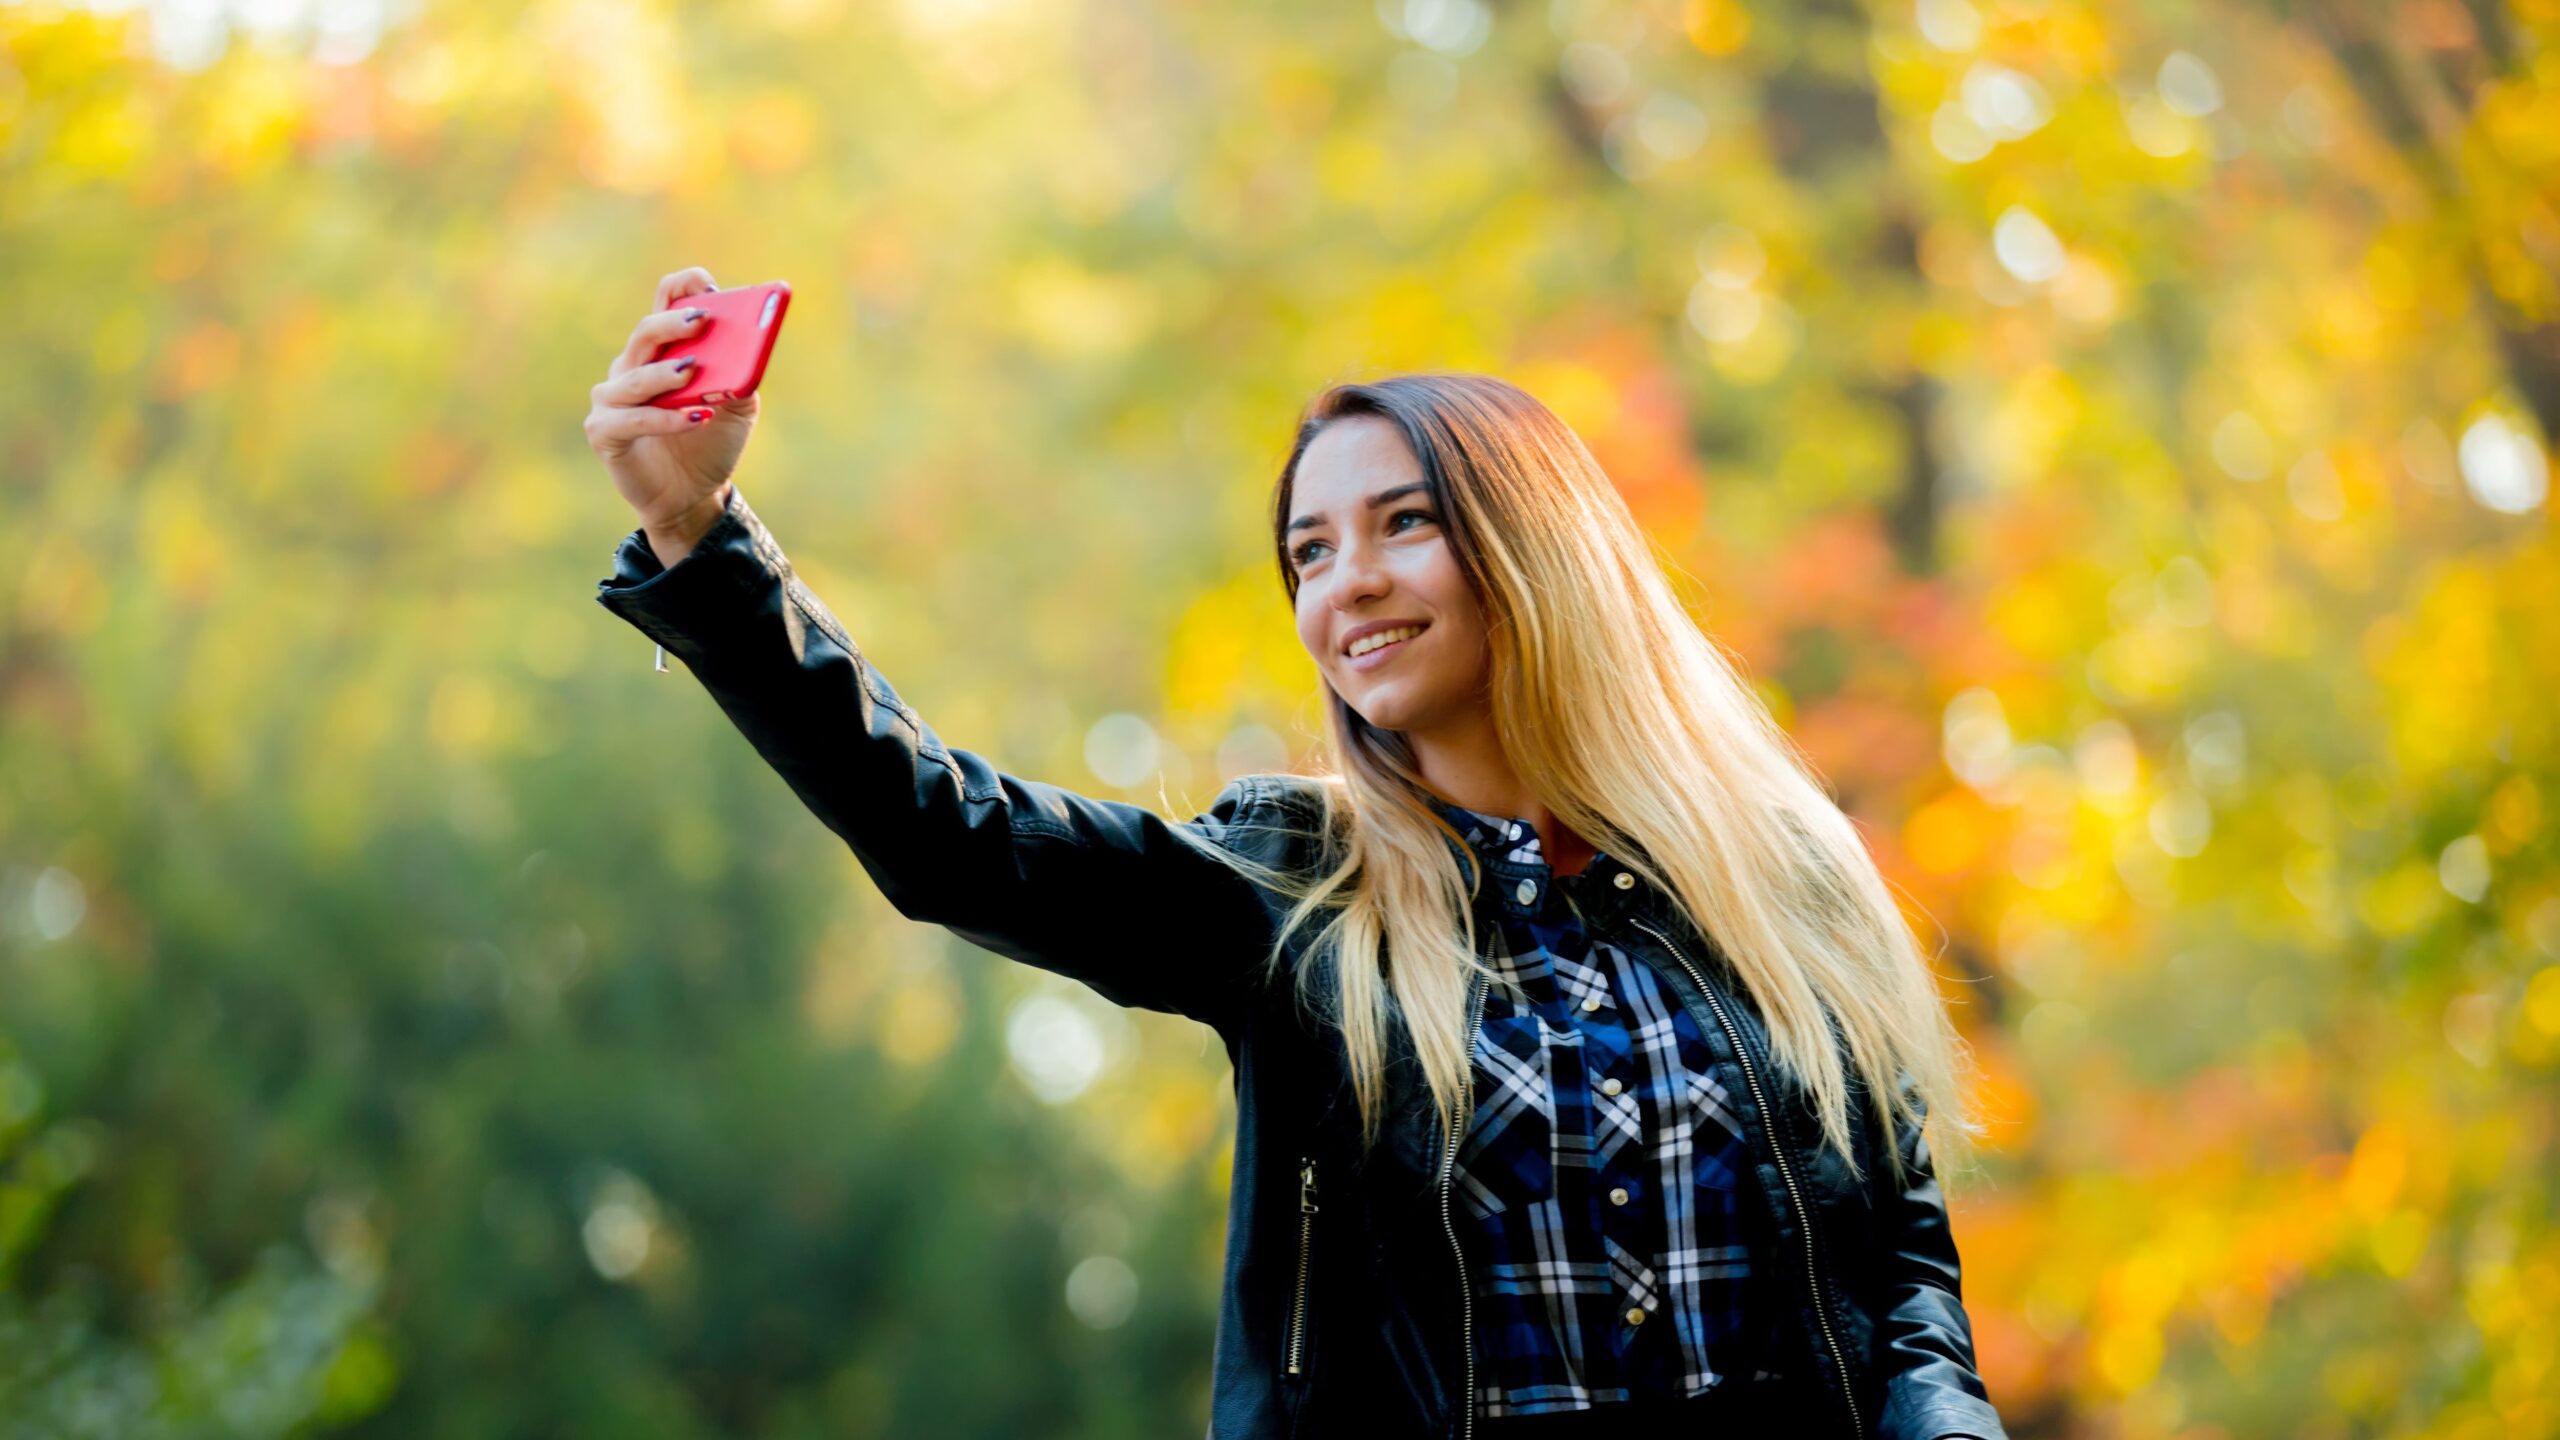
Perfect Your Pose and Expression
Achieving a natural and relaxed expression is key to a successful outdoor resume headshot. Forced or overly staged smiles tend to come across as fake and uninviting, which can work against you when trying to make a positive impression. Instead, try to think of a moment when you’re having a casual, friendly conversation with someone you trust. This mental trick helps soften your features and brings out a genuine smile. Slightly tilting your chin down and elongating your neck can add a touch of confidence and sophistication to your look, making your face appear more open and engaging without seeming stiff.
Your body language plays just as important a role as your facial expression. Standing with squared but relaxed shoulders conveys both strength and ease — a balance that signals professionalism without stiffness. It’s best to avoid crossing your arms, as this can sometimes create a closed-off or defensive vibe. Instead, keep your arms natural and loose, perhaps letting them rest gently by your sides or holding a simple prop like a notebook or a phone. This subtle addition can give your hands something to do while also suggesting that you are prepared and organized.
Posture matters more than most people realize, especially in photographs. Standing tall with good posture not only helps you appear more confident but also prevents slouching or awkward angles that can detract from the overall quality of your photo. If you’re nervous, take a moment to breathe deeply and shake out any tension in your shoulders and neck before the shoot begins. The more relaxed you feel, the more it will show in your pose and expression, making your headshot inviting and approachable.
Finally, don’t be afraid to experiment with small changes during your shoot. Slight variations in the angle of your head, the direction of your gaze, or the softness of your smile can create very different moods in your photos. Take multiple shots and review them to see what works best for your personality and professional image. Remember, the goal is to capture the real you — someone who is confident, friendly, and ready to make a great impression.